We inherited my parent’s old entertainment center when we moved into our house 3 years ago and it was fine. It provided a lot of storage and display space and served its primary purpose of housing the TV and DVR/Wii/CD player. But……..it wasn’t really our “style”…not that I’m really sure exactly what our “style” is, but that wasn’t it.

A blurry catty-corner photo of the old entertainment center at Christmas…
We’ve been on a little search for what we wanted to replace it with and LOVED the ideas on IKEA’s website (and trust me, I’m sure we will frequent the site again for other items….), however, we had the gist of what we wanted. One weekend Hubby came across and estate sale and found a great buffet that we could refinish into what we had in mind for the TV, etc. Sadly, by the time I made it to the sale the piece was gone…….but, tucked away in the back of the house was another sideboard. And lots of potential. Hubby talked them down to $50 (from $95, by letting them keep the hardware that came with it–it was AWFUL and we were happy to let them keep it!). And so we came home with our little DIY project. (By OUR, please understand that translates to my Hubby, in which I will happily take joint credit. We all should know where the real sweat and effort came from though, to be fair.) Without further blah, blah, blah…here is the story in pics:

A view from the front-ish…apparently I don’t care for a head-on pic of anything….

All opened up

During the “sanding down” process and the top drawer converted to a fold down space for the DVD player to be housed/hidden

Lining up the new hardware

Coat 1 applied, pre-lacquer

Letting the 2nd coat and 2nd lacquer dry….was way too humid in the garage!!

New hardwarde….top: drawer pull and bottom: door pulls

It’s so hard to take a decent picture of a black-lacquered piece of furniture, so here’s a B&W view…..

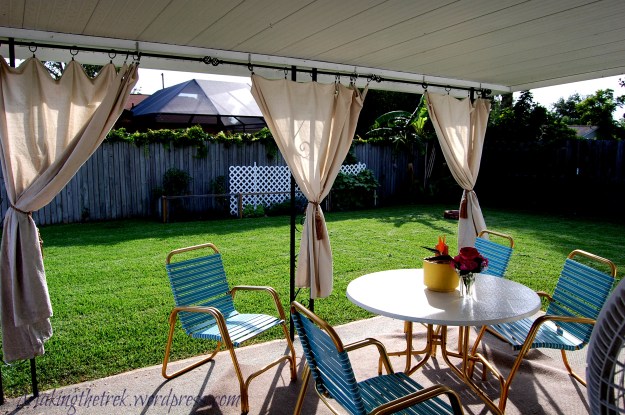
…..and here’s a color view, in action! A little Jack Johnson on Pandora!
So pleased!! Can’t wait to see Hubby’s next project….let me go find my list! 😉